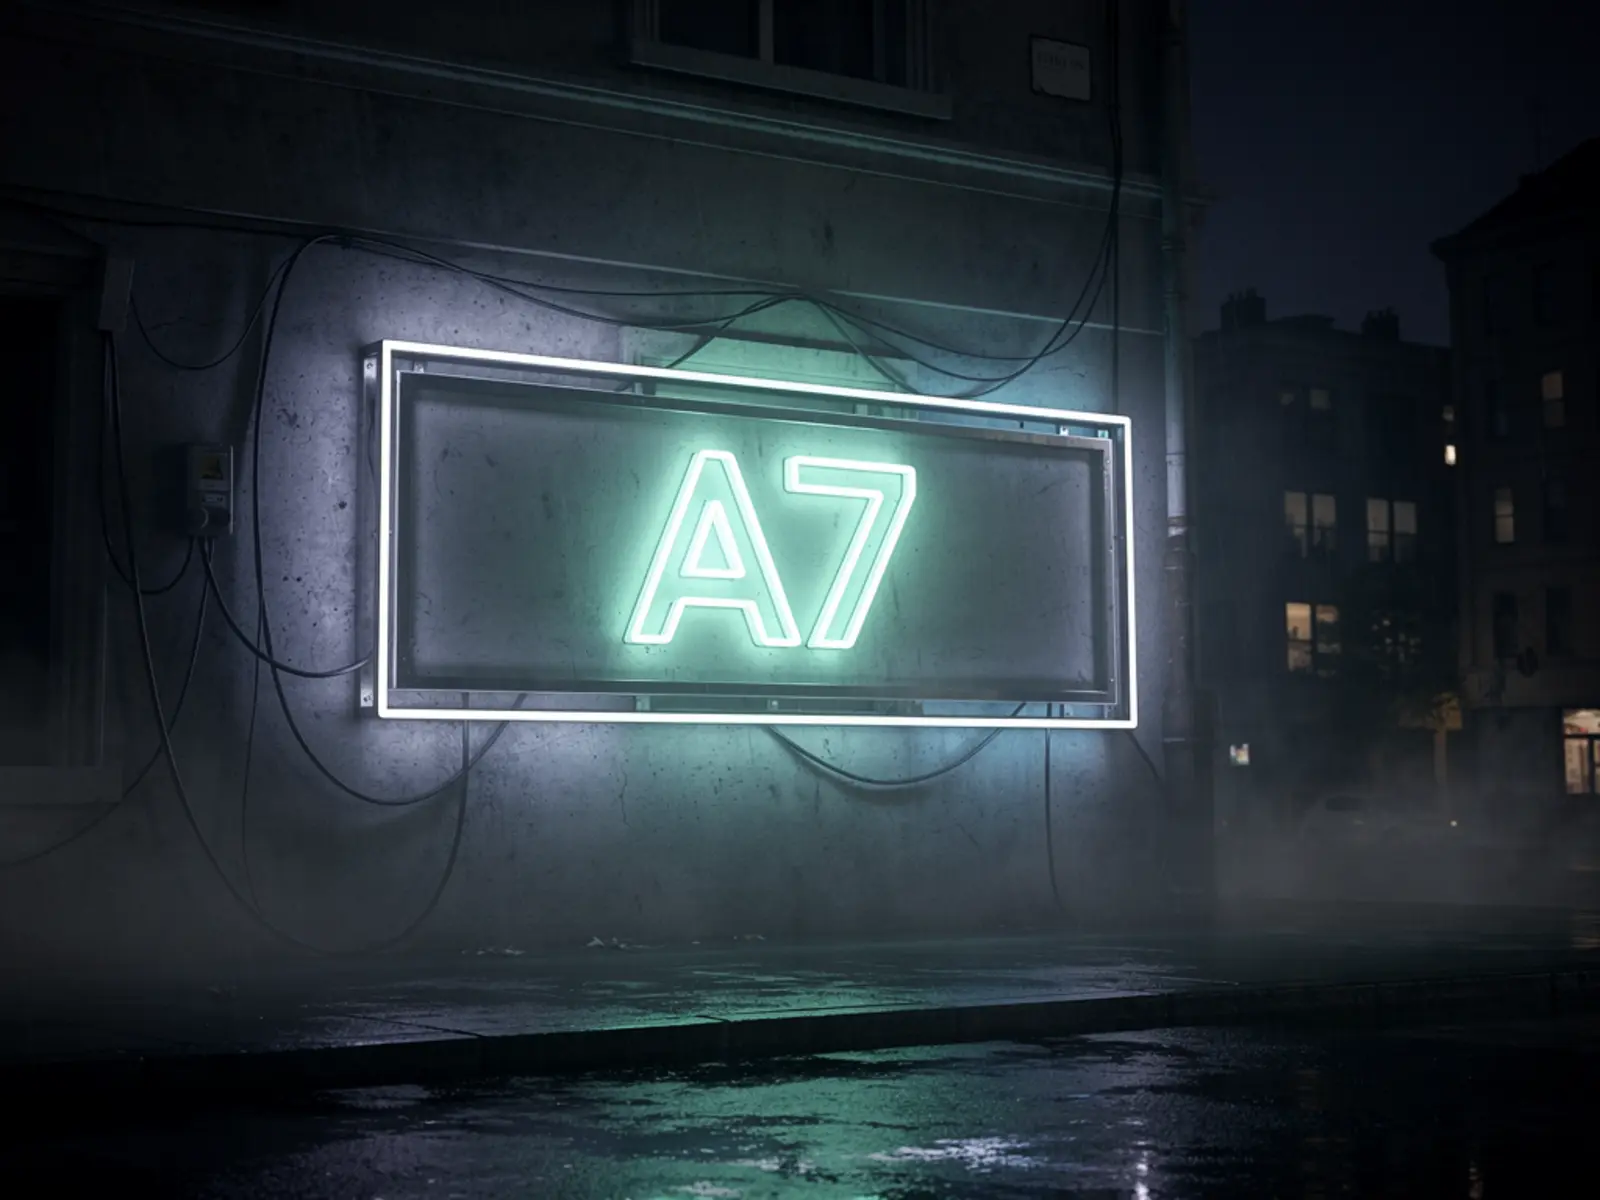
The idea
Create a sign that reads “SNAILS 103 TAONUI” clearly in daylight while only “S” and “103” illuminate at night. V1 is a full-size representative section and an installation specification. It proves typography, light isolation and serviceability before committing to the complete outdoor assembly.
The connection
Typography becomes an optical mechanism. The daytime reading and nighttime glow are designed together through materials, light compartments and viewing distance.
How it could work
Use physically separated light compartments for illuminated and unlit elements. An opaque face or backing, internal baffles and controlled diffuser spacing are more dependable than assuming a dark printed letter will block a bright shared lightbox. Design for access to individual LED sections without removing the entire sign.
Separate visual design from outdoor construction. The latter needs drainage, compatible materials, thermal expansion allowances, cable routing and a mounting design suited to the actual wall. Specify low-voltage lighting where appropriate and a suitable professionally installed power arrangement. An attractive mock-up does not establish weatherproofness or a compliant installation.
What would prove it
Build one “S” section plus adjacent unlit lettering at the intended depth. Photograph and assess it from the real viewing distance in daylight and darkness, with a fixed camera exposure for comparison. Test at several dimming levels, then run it for four hours while checking temperatures and accessibility.
Proposed gate: three independent viewers read the full daytime identity correctly; at night only the intended “S” and “103” elements appear illuminated; no distracting hotspots or leakage are visible from the nominated viewing position; lighting can be serviced without damaging the face; measured temperatures remain inside component ratings. Confirm site-specific consent and electrical requirements before installation.
The path to a complete build
- Survey the wall, sight lines and power route; approve full-size lettering with the owner.
- Make the optical sample and test baffle/diffuser spacing.
- Obtain a fabricator's mounting, material and environmental design plus an itemised quote.
- Build the complete sign with labelled circuits and replaceable lighting sections.
- Document day/night photographs, electrical load, installation details and a maintenance procedure.
Open the engineering notebook
Components, interfaces and calculations
Prototype materials include a full-scale face sample, opaque separators, candidate diffuser, lighting modules, suitable driver, dimming control and a temporary frame. Installation inputs are surveyed dimensions, viewing distance, mounting substrate, exposure, service access and the owner's requirements.
Estimate electrical power from actual module count and documented consumption, then measure it at chosen brightness. Select the driver within its manufacturer-rated loading and environmental conditions. Check voltage drop along the longest intended cable path and compare brightness at the nearest and farthest modules. Do not infer output from LED count alone.
Scope and development questions
Allow 3–5 design/sample sessions before fabrication lead time. Quote facework, frame/baffles, lighting, driver/control, mounting, access equipment and electrical installation separately. Resolve exact dimensions, viewing distance, permitted brightness and whether the current sign frame can be reused. The sample test prevents spending the full budget before the day/night effect is proven.